

The term "feature flagging" means to use a boolean value to determine whether a certain feature should be enabled or disabled. A feature flag can be as simple as a Python variable!
Here's a very basic feature flag (note that secure_hash would have to be implemented separately):
username = input("Enter your username: ")
password = input("Enter your password: ")

use_hashing = False

if use_hashing:
	password = secure_hash(password)

print(username, password)
In the block of code above, use_hashing is a feature flag! When it is True, then the password hashing functionality would be used. If it isn't, then password hashing wouldn't be used.
Normally though, we don't use plain boolean variables as feature flags!
A key aspect of feature flagging is that we should be able to change the value of the flag without modifying the code.
What are feature flags?
As we've just seen, a feature flag is a boolean value that tells the code whether a certain feature should be turned on or off.
Normally feature flags are not hard-coded. Instead, they're read from a feature flag service. This could be a database or a third party service that stores feature flags and lets us change them while our code is running.
Why should you use feature flags?
As long as your feature flags are read from a third party service or a database, and you can change them while the code is running, using feature flags lets you modify what the code does, without requiring a code change and a re-deploy.
Because you don't need to change the code and re-deploy—you just toggle the feature flag on or off—it's much faster to enable or disable a feature.
This is particularly useful for:
- New features that you just added to your code, and you want to be able to turn them off if there's a problem.
- Features you're still working on, but you want to deploy the code while keeping the feature flag off. This means the app can still run, and the code can be integrated with the work other developers are doing.
- Features that you are upgrading as part of a new version, and you want to both turn the old version off and turn the new version on at the same time.
How to create feature flags with PostHog
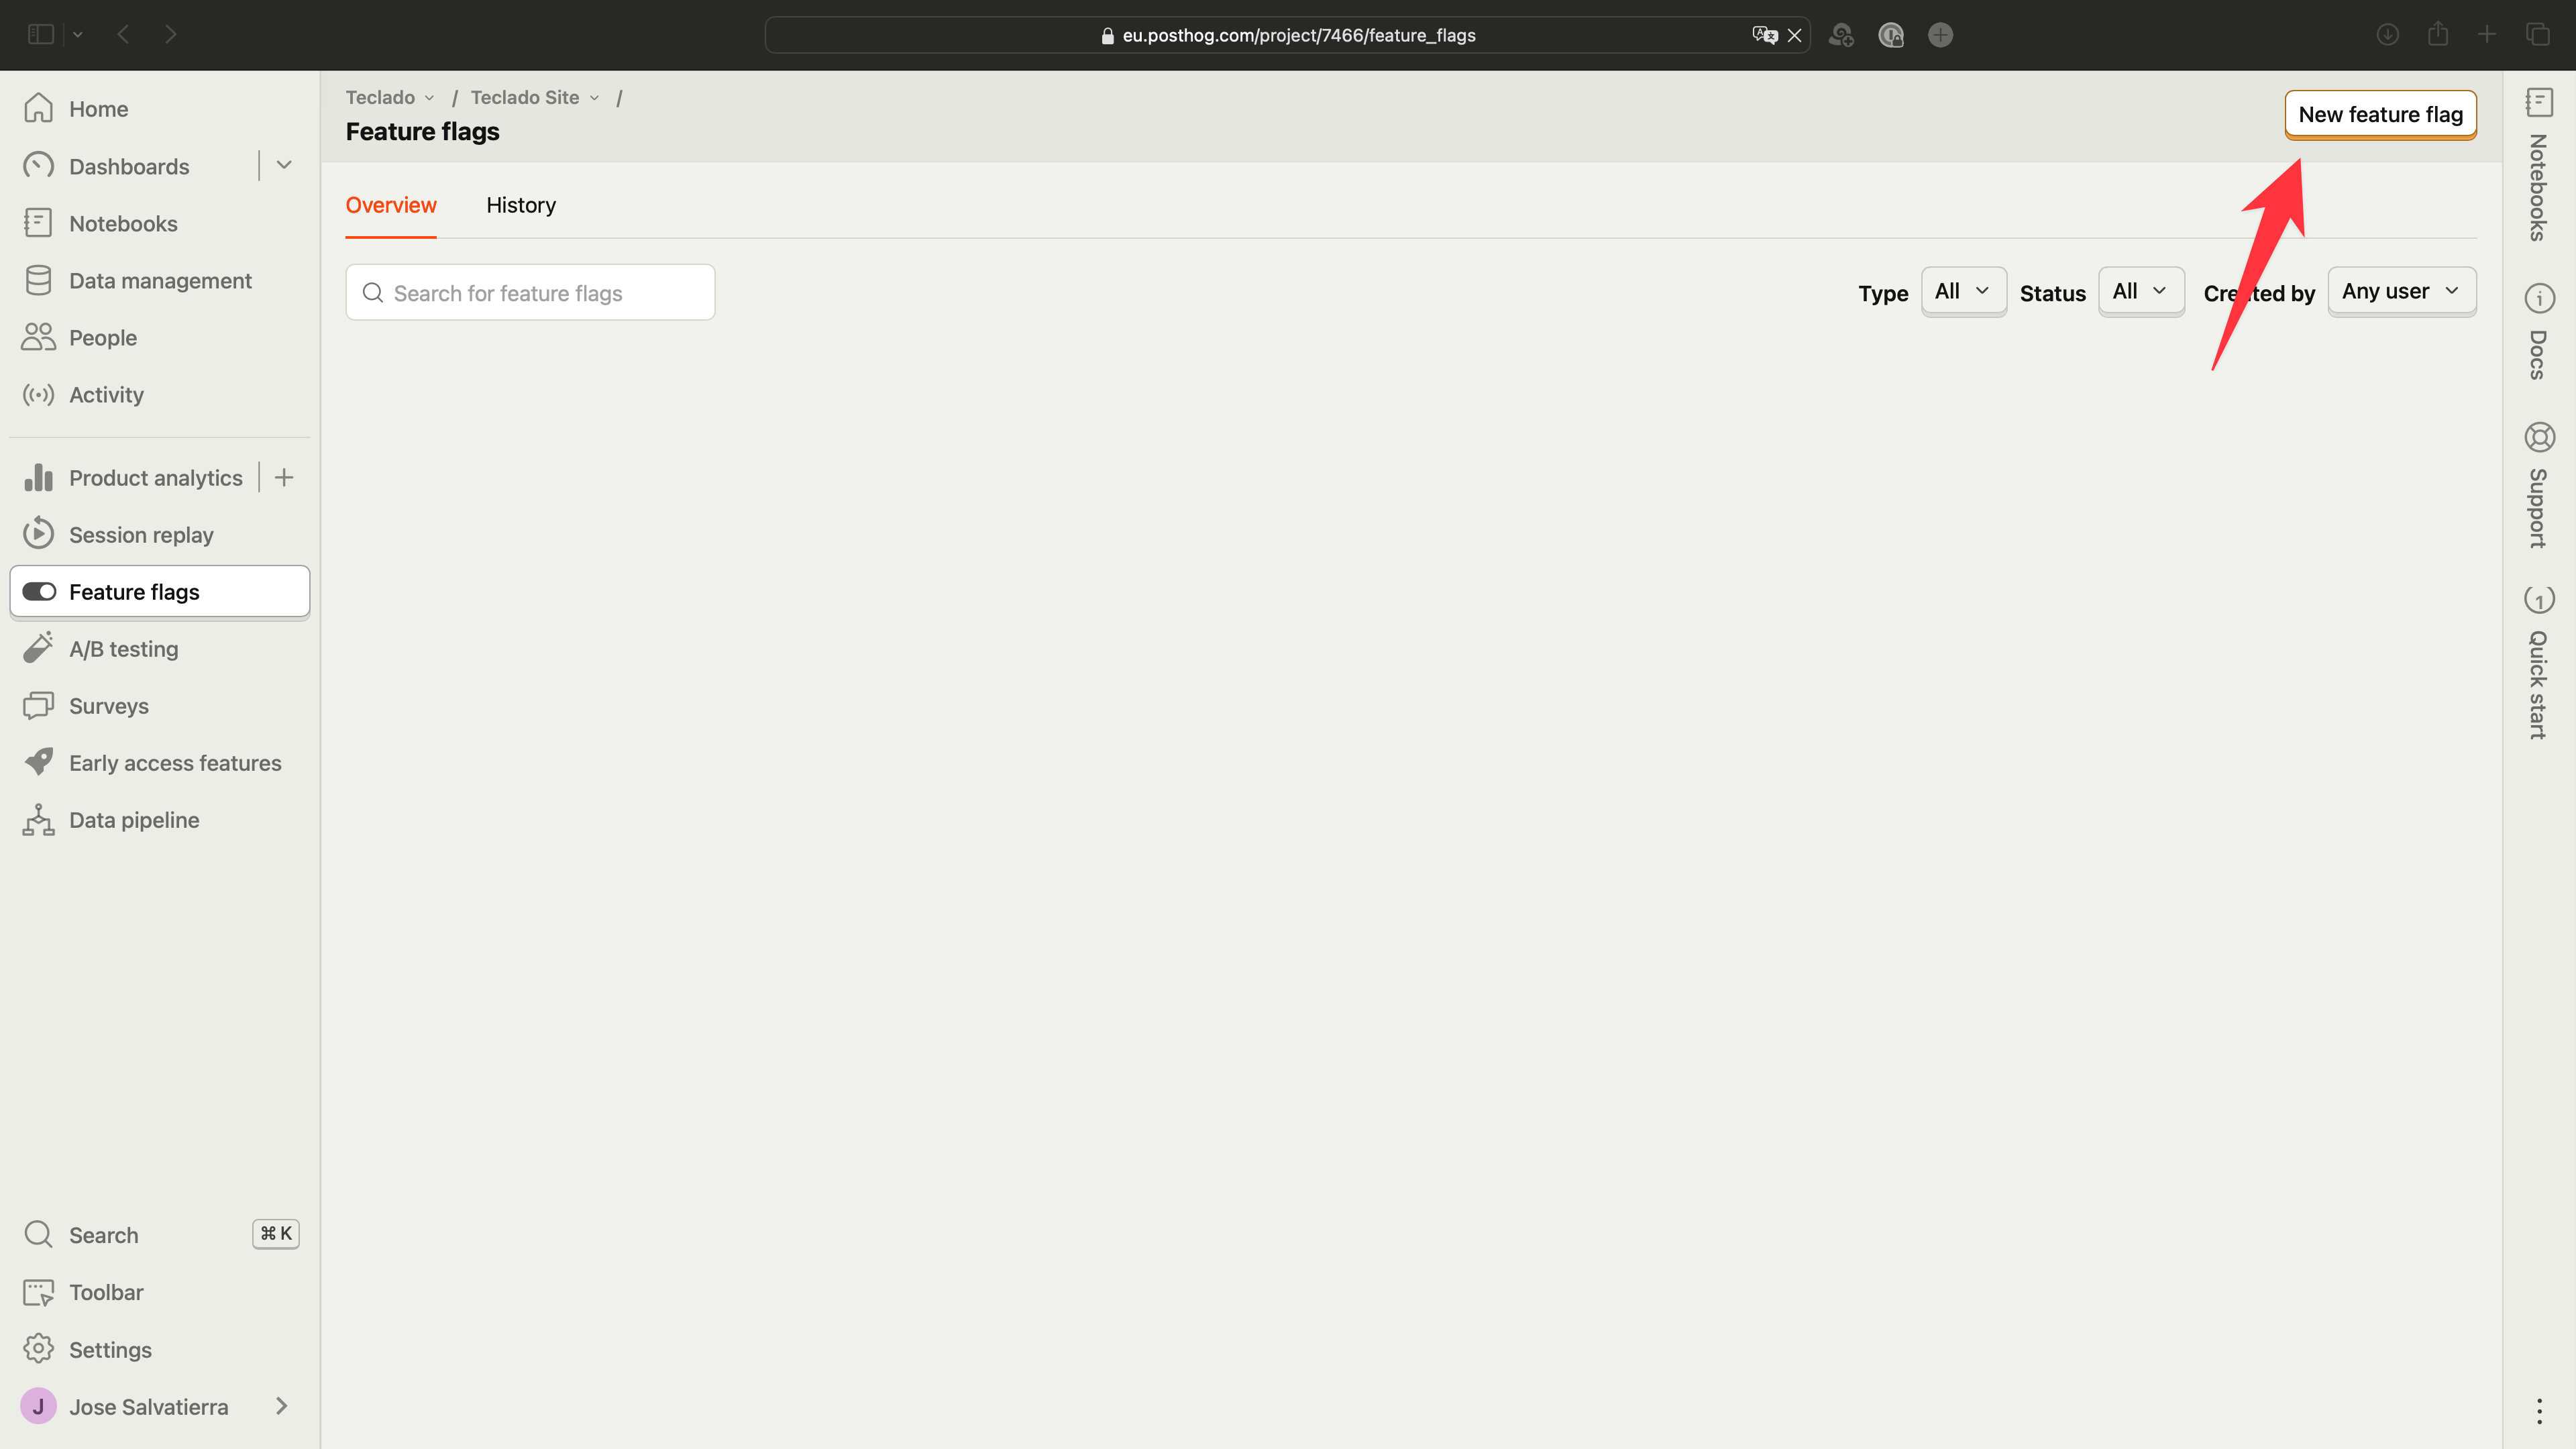
First navigate to the Feature Flags section of the page using the left hand navigation. Then, click on "New feature flag":
Now you should give your feature flag a name so that you can check it in your code later. A description is never amiss, since sometimes feature flags can stick around for a long time and you might forget what it's about!

You can optionally tell PostHog to return a payload instead of true when the feature flag is enabled for a user. Below we're returning the string "v2".
You should also specify what percentage of users should see this feature flag. Using 100% means that when the feature flag is enabled, all users will see the new feature.

How to check the active feature flags from PostHog using Python
Before you can check the active feature flags for a user, you should set up tracking for anonymous and authenticated users. We looked at how to do this in our first PostHog blog post.
Once your users all have unique IDs, you can use the PostHog client to calculate the feature flags that should be enabled for this user.
You can do it in the same before_request function:
@app.before_request
def before_request():
    # Create a unique uuid identifier for this user
    # Store it in cookes
    # Use it to track user in PostHog
    if "user_id" not in session:
        if current_user.is_authenticated:
            session["user_id"] = current_user.id
        else:
            session["user_id"] = str(uuid.uuid4())

	if current_user.is_authenticated and current_user.id != session.get("user_id"):
        posthog.alias(session["user_id"], current_user.id)
        session["user_id"] = current_user.id

    try:
        session["feature_flags"] = posthog.get_all_flags(
            session["user_id"], only_evaluate_locally=True
        )
    except:  # noqa
        session["feature_flags"] = {}
Using only_evaluate_locally will mean that the PostHog client will make fewer requests to the PostHog API. Otherwise, many requests are made every time a request is made to your Flask app.
This works because the PostHog client periodically fetches the feature flag information from your account, and then can assign feature flag variants to users without having to make an API call per user request.
How to use feature flags in Flask
Above you learned how to check the feature flags for a given user. With that, you can now enable or disable specific features!
For example, let's say that you want to change the way an endpoint behaves. If a feature flag is active, you'll render one template. But if it isn't active, you'll render a different template.
@app.route("/homepage")
def homepage():
	if session["feature_flags"].get("new_homepage") == "v2":
		return render_template("homepage_v2.html")
	return render_template("homepage.html")
As you can see, using the feature flag is as simple as getting the feature flag name you created in PostHog from the session["feature_flags"] dictionary!
But what if you wanted to use a feature flag to show or hide a part of the page?
Since the feature flags are stored in the session, you can use them within a template.
How to change parts of the page using feature flags
Using a Jinja if statement, we can check the feature flag values and render part of the page or another.
Note that if you use caching together with feature flags, any changes to your feature flags won't be shown until your cache for the given page expires. That's because when a page is cached, the Python code doesn't run and the template isn't re-rendered.
Let's change part of the page template using feature flags (the feature flag below was created without a custom payload):
{% if session["feature_flags"].get("new_homepage_button") %}
<button class="modern-button">Click me!</button>
{% else %}
<button class="old-button">I'm looking dated...</button>
{% endif %}
It's as simple as that! Just wrap the new or modified page content using an if statement that checks the feature flag. Since the feature flags were loaded before the request was processed, rendering a template has access to the latest feature flags.
When to use feature flags and when to use A/B tests?
In PostHog, A/B testing and feature flags both are implemented using feature flags. However, when you create an A/B test in PostHog you get some extra analytics and tracking to help you identify which version (A or B) performs better.
If you just want to directly or incrementally release a new feature, using feature flags is the way to go as it's much simpler. If you want to compare two options for conversion rate optimization, you should run an A/B test.
In our next blog post we'll talk about A/B testing with PostHog.
Thank you for reading, and I hope you've learned something new!
If you want to learn more about web development with Flask, check out our Web Developer Bootcamp. You can enrol for a one-time fee, or subscribe to gain access to all our courses!